
FlySky Radios & Receiver
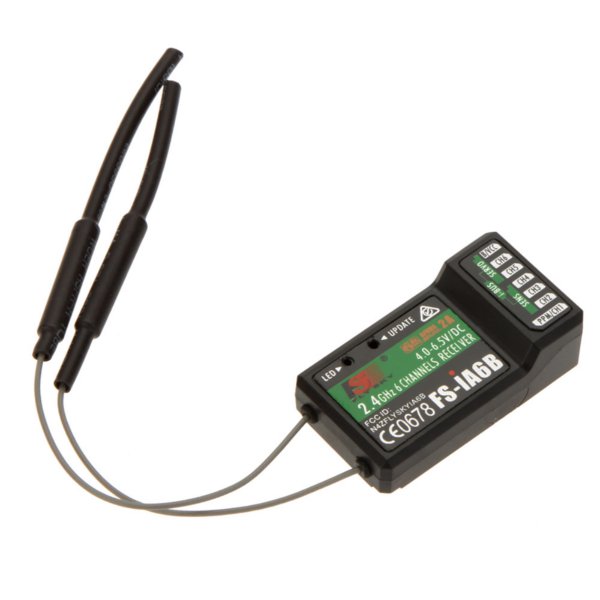
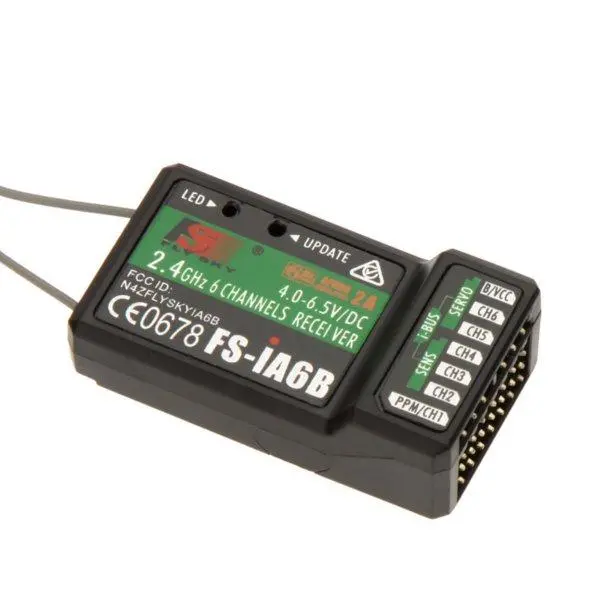
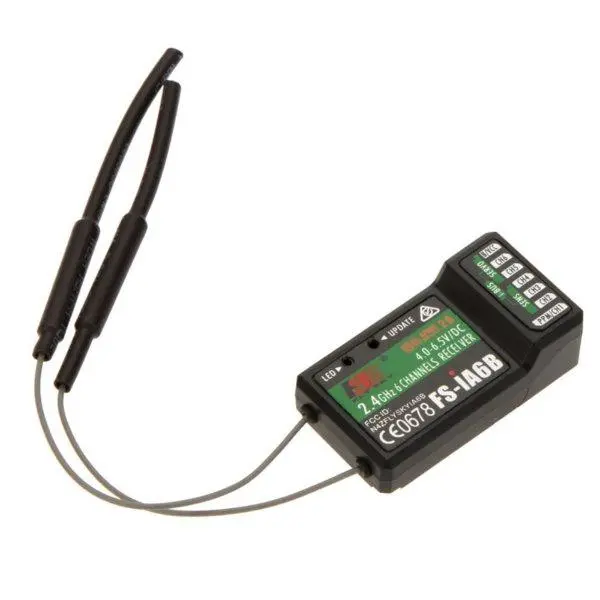
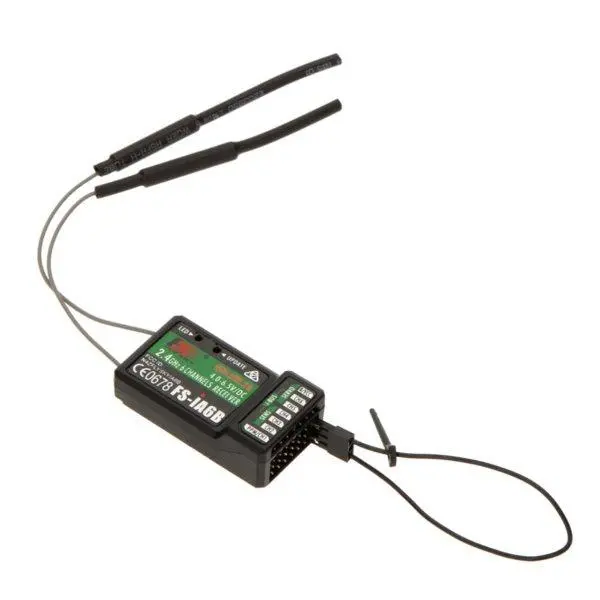
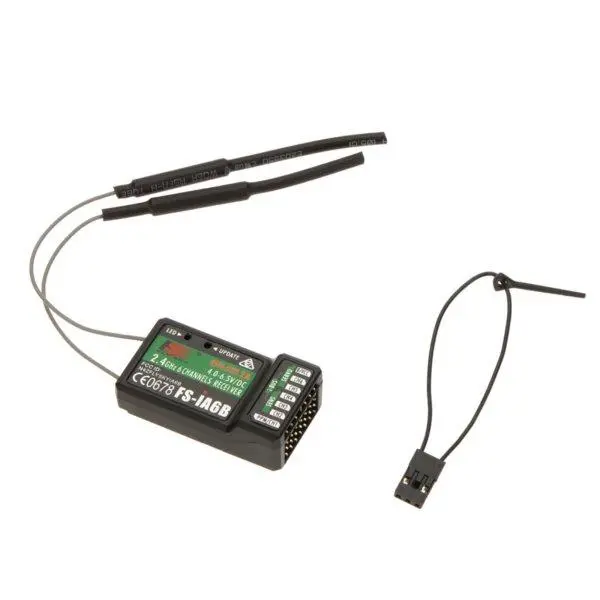
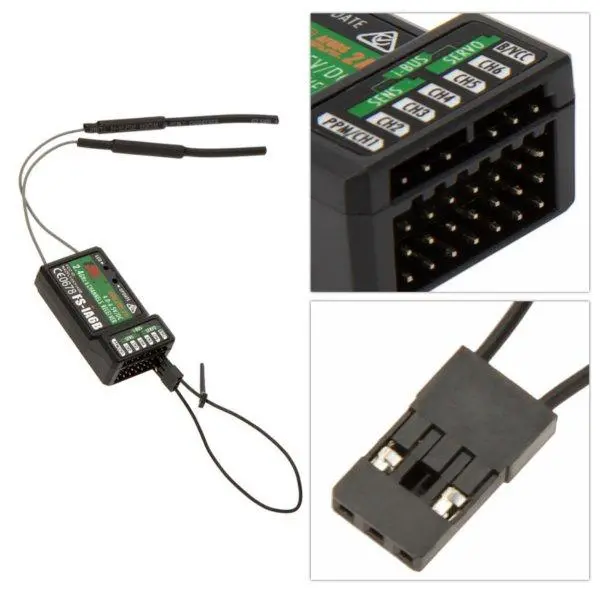
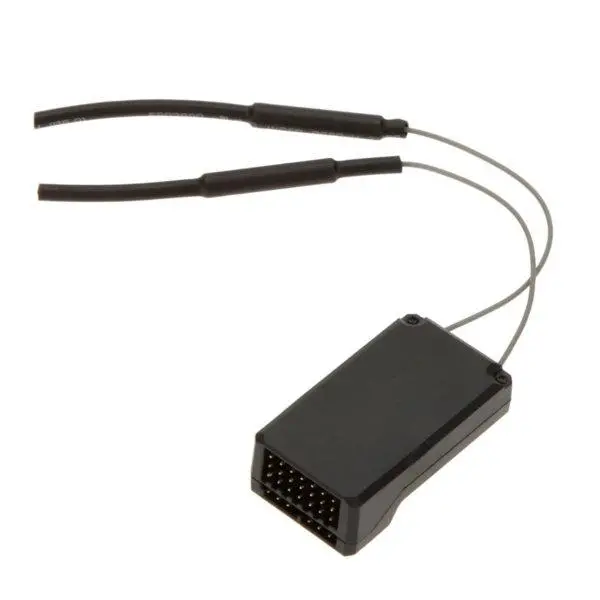
FlySky 2.4G 6CH FS-iA6B Receiver PPM Output With iBus Port
Questions and Answers
compatible tx 16 radiomaster?
yes
Why two antennas?It adds to install difficulty :/
With two antennas has better reception
hello shop can this receiver connect to the Flysky Fs – i*****.4G player?
Hi,they are compatible.
Reviews
 Erasmo
on 17 September 2020
Erasmo
on 17 September 2020
The products arrived perfect only the post office from here taking longer had full support from the bangood.Always guided me with the order. And it wasn't the first and nor the last I'm buying more thank you bango.
 3DFlyZone
on 15 August 2020
3DFlyZone
on 15 August 2020
great receiver, easily over 1km range with standard hand set. and over 8 channels using ibus. for better weight and size remove the plastic case and cut off the pins, solder instead
3DFlyZone
on 05 June 2020
My favourite afhds 2a receiver, best for 5" quads upwards or wings. Take the receiver out the casing and snip the pins off to malt it more compact and lighter. Have had over 3.5km with this. Can't fault it
 davec
on 29 July 2016
davec
on 29 July 2016
It's green! You gotta love this quad (packaging, components, price)! I can't imagine a better first-time FPV racing quad. The F3 color scheme really comes alive in low light conditions because the individual ESC's, PDB, and rear LED strip all glow green. Mine came ready-to-fly. I didn’t need to put this ‘on the bench’ to bind the transmitter or setup the ESC’s, flight controller, etc. Here’s the steps I took: Step 1: Install the antenna on the VTx port on the top plate. This is very important because the Video Transmitter (VTx) would otherwise overheat and fail within minutes of plugging the battery into the quad. Step 2: Ensure the props are NOT installed. Again, this is an important precaution when first introducing the transmitter to the quad's receiver. Step 3: Feed the battery strap through the long slits on the top-plate. Strap down the battery but DO NOT apply power to the quad. Step 4: Turn on the transmitter and place all switches up, and spin the rotary dials fully CCW to their stops (10 o'clock position). Also retard the throttle to idle/cutoff (fully aft). Step 5: Power the quad and wait for beep sequence from the flight controller. You should see a steady red light on the VTx just under the quad's top plate. And NO red light on the flight controller. If the VTx red light is blinking then you may need to bind the Tx with the Rx (reference YouTube "FS-i6 binding"). If the flight controller is flashing red, then repeat Steps 4 & 5 until you hear the flight controller sing. Once the red light on the flight controller extinguishes, flip the SWB (long switch at upper left side of the FS-i6 Tx) down to '2'. The red light on the flight controller should re-appear to indicate 'armed' (and dangerous). Now (without the props installed) you can goose the throttle to check for proper Tx/Rx binding and control. Step 6: Open both bags of props and take out a pair of each. CW=silver nuts; CCW=black nuts. That is '5x4P' (with CCW arrow) on the right-front and left-rear motors, and the '5x4R' (with CW arrow) on the left-front and right-rear. Tighten down the prop nuts Step 7: Open the Instruction Manual to page 4 and note the 3-position SWC switch functions. 1=Auto (self-leveling like toy-quads and camera drones); 2= Mixed (horizon mode combining self-leveling with flips at full stick deflection; not useful in windy conditions); 3=Manual (acro mode with no self-leveling; best learned with a simulator or XK X100 or other light-weight acro quad). In other words, first-time FPV racer pilots should ensure SWC is in position '1' for the first flight of this Kingkong 210GT racer! Step 8: Go fly! Enjoy!!!! (or first test and setup FPV as available) Step 8: Disarm the quad using SWB in position '1'. Unplug the battery on the quad, then turn off the transmitter.
mikes
on 14 April 2016
Using this on an Eachine 250 Racer with Flysky-i6 transmitter. Range and reliability is extremely good. Price is unbeatable. Two-way data link allows monitoring of Racer battery voltage and low battery alert (using the RC groups mod to monitor external voltage instead of RX voltage - that is the yellow wire emerging from a small notch made in the casing at the joint line in the attached photo). I have tried a Flysky CVT01 voltage measurement module which works well but the Flysky-i6 transmitter does not allow me to set a low voltage alert for the measurement returned by the CVT01 - so the RC groups mod is better in this respect.
Toots
on 21 July 2015
Works GREAT! with my new FS-i6. Great to have the expanded range and two way communication. Thanks Bangood And FlySky!